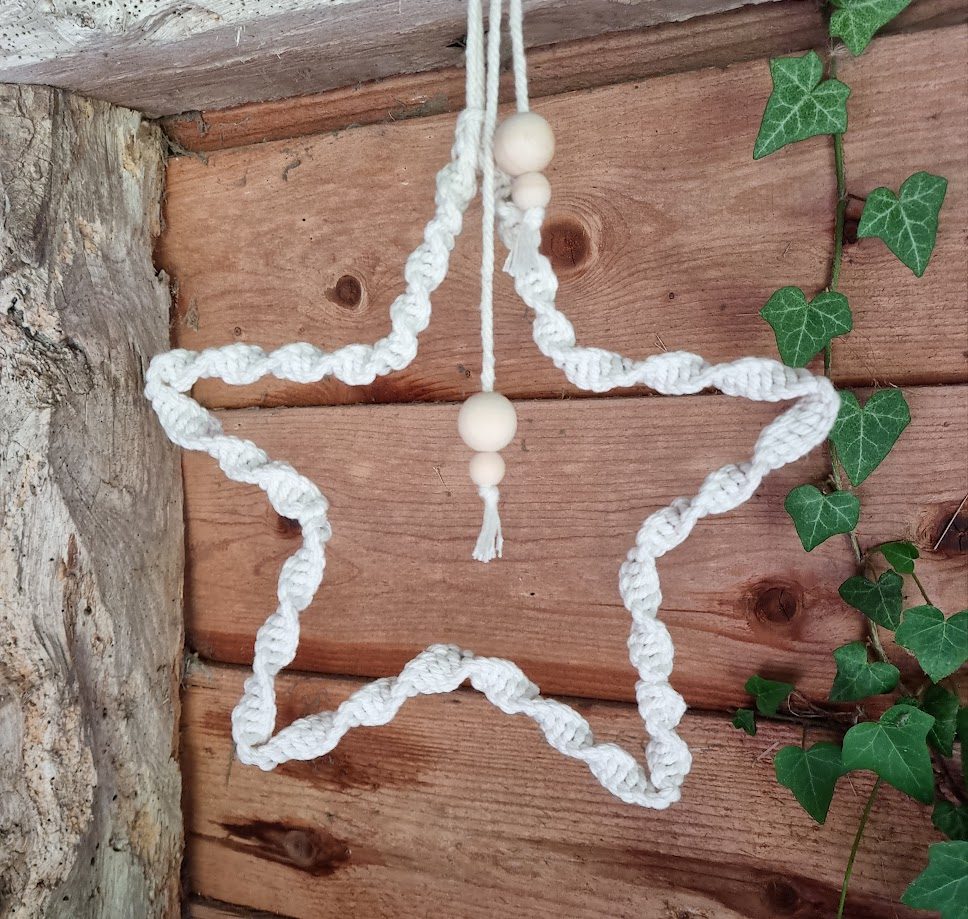
Add a little love to your winter decor with these speedy Scandi hearts and stars (which can be created in less than one episode of a Nordic drama). While any colour cord can be used, I think neutral creams and greys so pretty that you could leave them up after Christmas! Although wire frames for macrame can be purchased readily from craft shops, they can easily be made at home in just a few minutes for free; all you need is pliers and wire coat hangers! Measuring about 25cms in height, the spiral knotted ornaments are made with just working cords, as the wire acts as the filler; here I have used some soft macrame cord but they also work brilliantly with that old ball of household string that’s been hanging around in the back of the drawer for years. 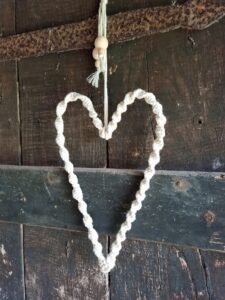
Materials
For the heart
5x 2m lengths of 3mm cream macrame cord (the exact amount will depend on how tightly twisted your spiral is)
Wire coat hanger
Wire cutters
Masking tape
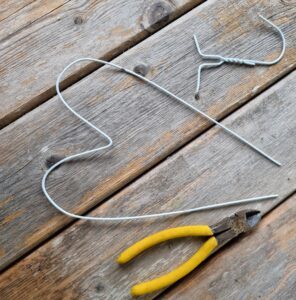
- Snip the hook off the coat hanger and straighten out the length of wire before bending it into a heart shape.
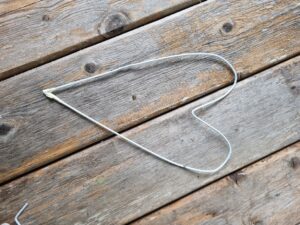
- Try to make the indent at the top a fairly gentle angle as that will make it easier to work around the bend. Attach the two ends together with a little masking tape.
- Cut a 2m length of cord, place it behind the wire about 5cms down from the join.
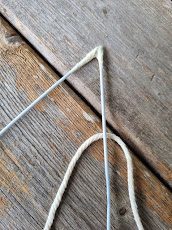
- Lay the left hand working cord over both the wire and the right hand cord (making a shape like the number 4).
- Now take the right hand cord and put it through the left hand loop.
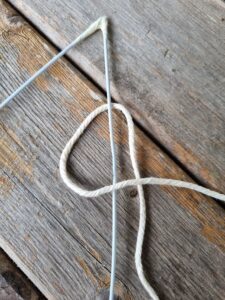 Pull tight to form your first knot.
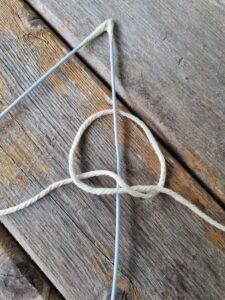
- Continue to make more knots; as you progress you will see the spiral form naturally, and you can slide them round the wire to make the twist tighter if you prefer.
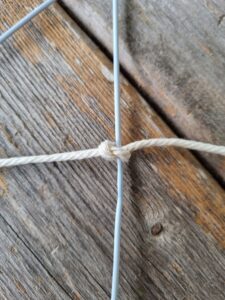
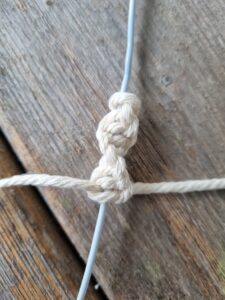
- To add in a new working cord, lay another 2 metre section behind the wire as before, aligning the old working cords with the wire.
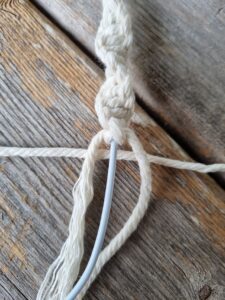
- Form a new knot, trapping the old tails and the wire within it.
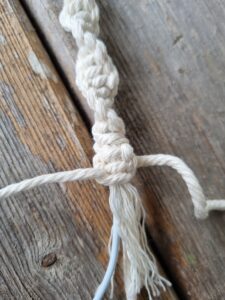
- Make three or four knots before trimming off the tails and continuing to work; you may need to twist the new knots round a little so they match up with the previous ones.
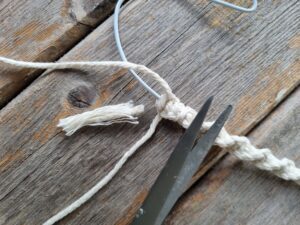
- Turning the work around the point is probably the trickiest part, but this can be over come by not tightening the knot quite so much, giving you a slightly longer stitch to get round the corner successfully.
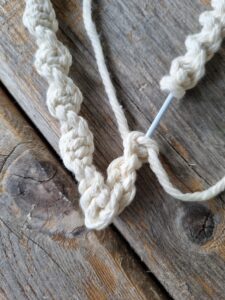
- To finish the heart, pull the two working cords as tightly as you can. Snip off the ends then apply a thin smear of hot glue to seal them. Add another tiny blob and join the last knots to the first ones.
- Cut a 50cm section of cord and fold in half; put the loop through the heart and then tuck the tails through the loop to make a hanging loop. Knot the ends together with a couple of wooden beads if you have them!
Materials
For the star
5x 2m lengths of 3mm cream macrame cord (the exact amount will depend on how tightly twisted your spiral is)
Wire coat hanger
Wire cutters
Flat nosed pliers
Masking tape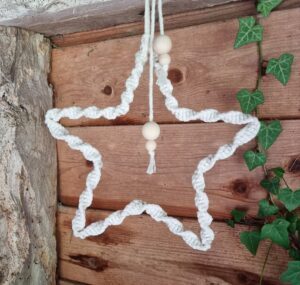
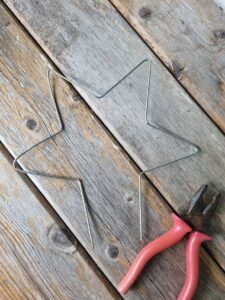
- Snip the hook off the coathanger as before, and straighten out the wire.
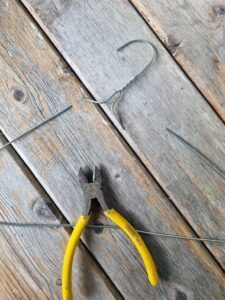
- In order to create a star shape, we need to essentially create ten equal sections of wire so all the arms are the same size. Measure the length of the coat hanger, divide the measurement by ten and mark accordingly.
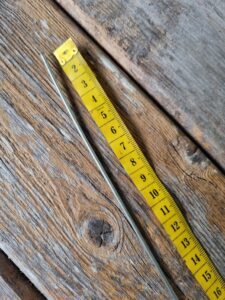
- Bend the star into shape using the pliers. Don’t panic if it doesn’t look particularly even to start with, as long as all the distances are the same you can continue to wiggle it about until you are happy; the macrame knots themselves will also help to cover any humps and bumps.
- Follow stages 2 through to 9 as above.

- With the stars I don’t generally tape the open ends together until I am nearly finished covering the frame with knots as it is easier to work around it while it is slightly stretched out; please be careful not to scratch yourself on the sharp ends of the wire though (you might want to put a little tape over them while you are knotting).
- Finish off by working around the tape join. Pull the working ends as hard as you can. Snip the tails off and seal them with a little hot glue, before joining them to the beginning knots. Tie on a length of cord, attach a couple of wooden beads to the ends and use to hang up your beautiful new home-made Scadninavian decor!

