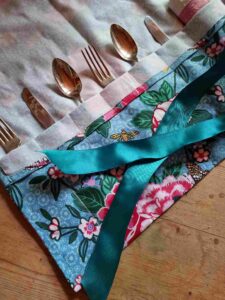
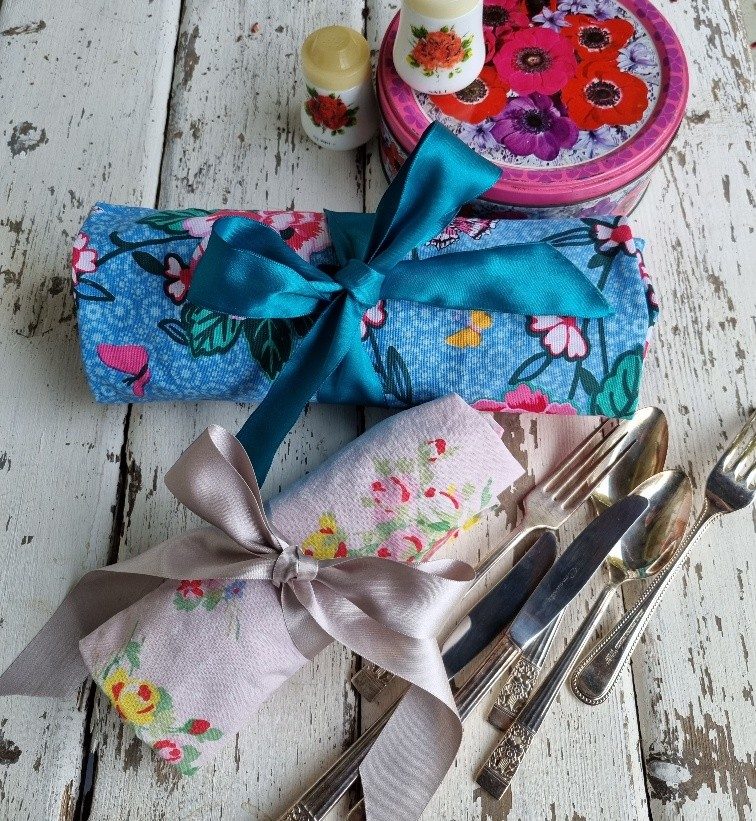
A great project for those (like me) who are best suited to sewing in straight lines, this picnic cutlery roll utilises the most humble of kitchen linens, the tea towel. The fabulous thing about sewing with these is that they have already been hemmed, so all you have to do is work out how big you would like your compartments to be and then just zip along merrily with your sewing machine. For this project I have used a large-sized tea towel so not only is there room for a selection of vintage cutlery, but there is also space to add napkins or another cloth for a special posh picnic. A simple ribbon is sewn into one of the side seams so it can be tied in a pretty bow to hold everything together neatly. A great gift for someone who takes a packed lunch to work every day (no more plastic disposable forks!), you could also add chopsticks, metal straws or condiments; best of all, you can even use it to mop up spills then just bang it in the washing machine (I always have at least one spillage daily).
Fabric place mats and fabric napkins also make great storage rolls; here I have made a slightly smaller one pink one from a napkin for stationery and my favourite pencils, but they could also be used for organising necklaces, make-up brushes or crochet hooks and needles .
Materials
A pretty tea towel (mine measured roughly 72 x 48cms)
Two vintage knives, forks and spoons (I found them for 50p each at a charity shop and just gave them a quick buff with some silver polish before rinsing in hot soapy water, but bamboo cutlery would also look lovely)
Two linen napkins
1m of ribbon (this gorgeous turquoise silky one was wrapped around a gift from my lovely sis-in law and I instantly stashed it away for something special)
Sewing machine
Pins
French chalk
Ruler
- Whether you are making a smaller roll or this large one, the principle used remains the same. Place the tea towel in front of you lengthways, then fold the bottom edge up towards the top, so the fabric is essentially in thirds, and then the top down. Lay your cutlery and napkins on top.
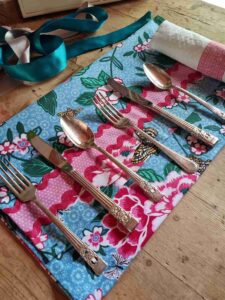
- Work out how wide your channels need to be; I made six 6cm wide pockets plus a slightly wider one to accommodate the napkins.
- Mark the compartments with the French chalk and pin in place (I folded the lower edge back down again by about 5cms, just to give the roll a little bit of structural integrity!).
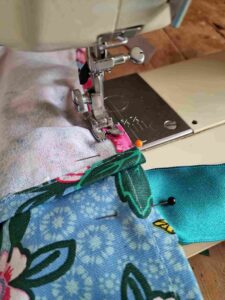
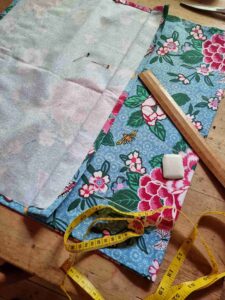 4. Fold the ribbon in half and then sandwich it between the right hand seams where you would like the tie to go. Pin in place (use 2 pins as otherwise it will start to slip all over the shop when you start to sew).
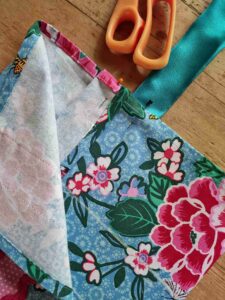
- Starting at the right hand side, zip up the seams and marked channels with the sewing machine, stitching backwards and forwards a little bit at the start and finish of each line to stop the thread unravelling.
- Snip off any loose threads, then remove any French chalk marks with a damp cloth.
- Slot your cutlery into their new homes, then roll up everything, starting at the opposite end from the ribbon. Finish with a pretty bow.
