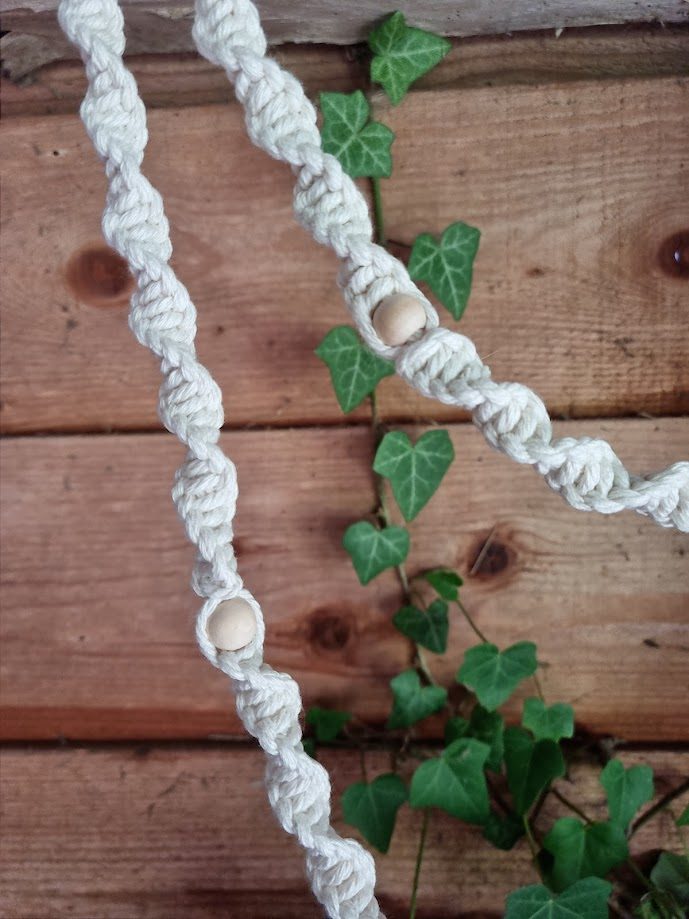
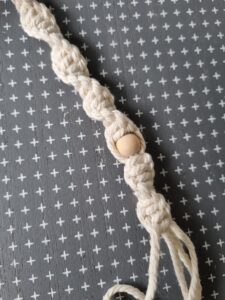
Today many knots are used to create plant hangers, wall hangings, and other decorative items, but possibly the simplest one is the spiral knot (also known as a half-knot in the US),; here we have used it to create an attractive helix pattern garland interspersed with wooden beads. Drape over your Scandi Christmas tree and accent with white and grey ornaments for a lovely neutral look, or use as a swag on a mantelpiece and bannisters; and if you are feeling crafty, have a go at our rag rug Christmas door wreath and duvet cover tinsel!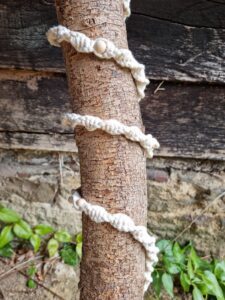
The garland is worked in short sections over a longer piece of cord, which is then punctuated by wooden beads to cover the breaks in work. If you find the ends of your working cords are fraying too quickly, wind a little piece of tape around them to prevent this. Many macrame projects involve sitting at a table and keeping all your knots terribly well-organised in front of you, but as someone who prefers to lie prone on the sofa with a glass of wine when knocking up a quick craft idea, this is an ideal evening activity! 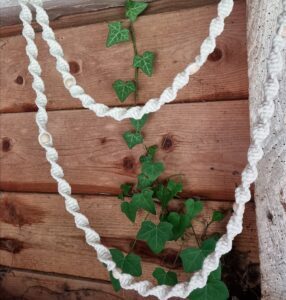
Materials
3mm cream macrame cord (household string also works very well)
10mmm wooden beads with a 5mm hole
Darning needle
Masking tape
Hot glue gun
Clipboard (or you could tape the garland on to a hardback book)
- Start your garland by deciding how long you would like it to be, and then cut a length of cord double that length. Fold it in half leaving a 5cm loop at the top to hang your work with later, and either tape it to a tray or table or (my preferred option) attach it to a clipboard. Leave the first half a metre free then bundle up the rest so it doesn’t get in the way too much. These two lengths will be your filler cords (try and keep them lying flat at all times).
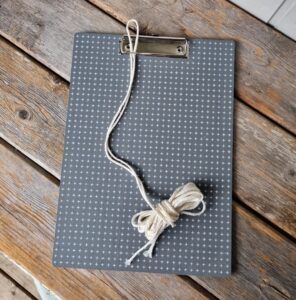
- Cut a second piece of yarn measuring 2 metres. Fold it in half and lay the middle point behind your filler cords (the filler cords are your non-working yarn, which should theoretically always stay in the same position).
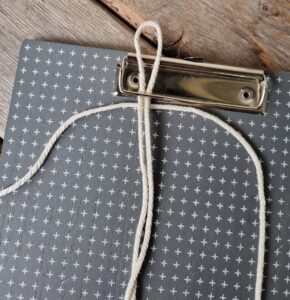
- To tie a spiral knot, take the left working cord, pass it over the top of the filler then behind the right working cord.
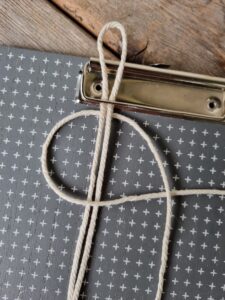
- Now pick up the right working cord, take it behind the filler and pass it through the loop that has been formed on the left, from back to front.
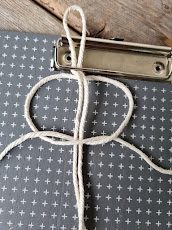
- Gently pull on both the left and right cords evenly, so a knot is formed.
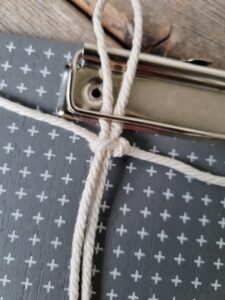
- Continue to knot the cords in this way; as you progress you will see that a natural twist will occur, resulting in the spiral pattern. I often find that if I put the work down and come back to it it takes a moment or two to work out what is going on; the trick to remember is that the filler cord should be able to slide up and down inside the spiral, and that it should always be in the middle. The left hand working thread will also always be slightly higher.
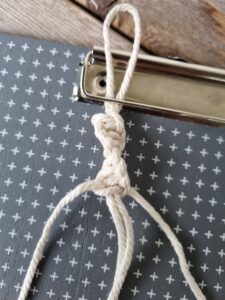
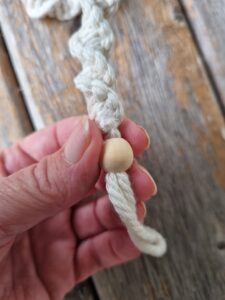
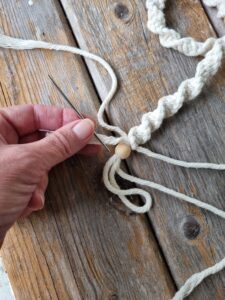
- The 2 metre length of cord you are working with should now result in roughly 20cms of knots. Once you have used up most of this working length and have about 8cms left, thread the darning needle with one of the filler cords and push it through a wooden bead, sliding it all the way up to the top. Repeat with the second filler cord.
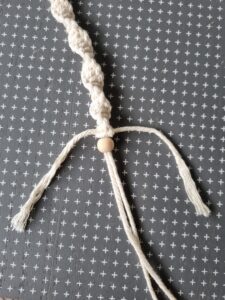
- Taking the two loose ends of the old working sections and align them with the filler cords underneath the bead.
- Lay a new 2 metre working cord behind the fillers and then tie another three or four spiral knots below the bead until the old tails have been neatly bound in. Trim off the tatty ends and carry on knotting.
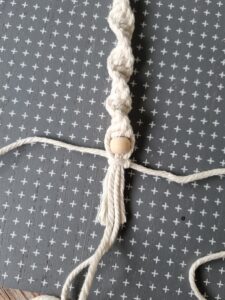
- Continue to knot each section until you have reached the end of your garland, ending up on a knotted section with about 10cms of filler cord left over (this will make your second hanging loop). Pull the working cords as tightly as you can so everything is secure.
- Heat up your glue gun.
- Thread a bead on to the two filler cords as before, then using a darning needle thread just one of the fillers back through the bead to make a hanging loop (it will be quite a tight fit so you might need a pair of pliers to pull the needle through).
- Using sharp scissors, snip the tails off both the working and filler cords, leaving just the hanging loop, then seal each cut with a tiny blob of glue.
