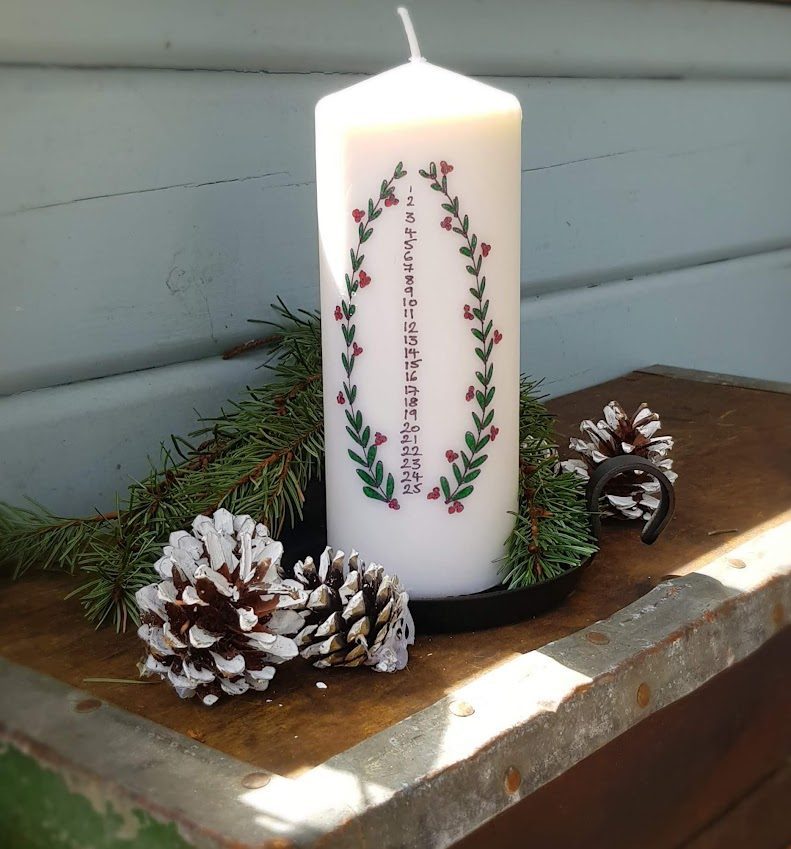
Lighting advent candles is an important tradition in the lead up to Christmas in Denmark and the rest of Scandinavia. Many families will have an advent wreath with four candles, each one being lit in turn on the Sundays in December, but kids particularly love lighting a special candle at breakfast. Marked with the 24 days of advent, it can be a quiet moment of calm in an otherwise hectic month, as you all sit and wait for it to burn down to the next number. If you have ever wondered how to make your own decoupage Christmas advent candle, rest assured it is easy! It just requires a few household items and a little imagination; add your family’s names and the year for a very personalised ornament!
The fact that a wide pillar is used here rather than a taper candle means that the tissue should never be too close to the flame to present a hazard. As with all candles, ensure it is placed on a fire-proof surface, never leave it unattended while burning and keep the wick trimmed to 5mm.
Materials
White tissue paper
White baking parchment
20cm white pillar candle
Hair dryer or heat gun
Felt tip pens
Masking tape
- Draw out your design (ensuring it will fit on to your candle) on to a piece of white paper. An easy way to do this is to print out a column of numbers and then pen your illustration around them, if like me you have problems drawing in a straight line!
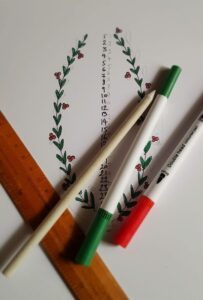
- Cut a piece of tissue paper and, placing it over the top, trace the image using felt tip pens; taping it to a piece of card makes life a bit easier!
- Carefully remove the tissue from the card, and trim round your design closely with scissors, checking it fits on the candle (that was my inital error!).
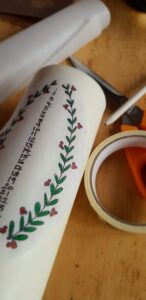
- Place the tissue on to the candle, and then tape a piece of baking parchment around it so the design is held down firmly. Make sure the waxy side of the baking paper is facing the candle.
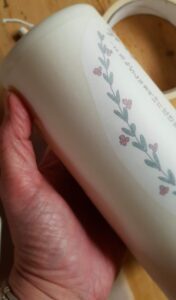
- Using the hair dryer, apply heat evenly across the baking parchment. As the wax starts to soften, it will seep into the tissue and bond it to the candle (using white parchment allows you to see which areas have melted and which still need more heat).
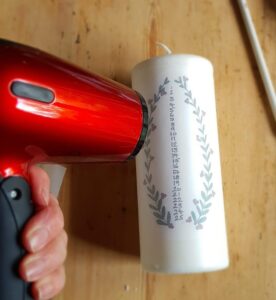
- Gently remove the parchment, giving any areas which are still not quite glued on another quick blast with the hairdryer and gently pushing them down.
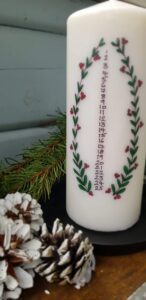
- Once you have mastered the knack, the technique can be used to make all kinds of wonderful personalised candles, from wedding table numbers to anniversary gifts. You can also use pretty patterned 3-ply napkins by carefully peeling away the top layer and discarding the bottom two, before continuing with the above method.

