
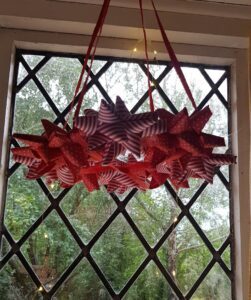
Julestjerner, or Danish paper woven stars, are one of the most iconic of Scandinavian Christmas ornaments, and are very easy to make once you have got the knack. Once you have made this wreath, surplus stars look wonderful piled up in bowls with a few fairy lights, strewn across your Christmas table, hung on the tree or strung together to make a lovely mobile. We hang a branch from the ceiling and suspend the stars and a few fairy lights from the twigs for an alternative rustic decoration.

My Danish grandmother taught me to make julestjerner I was little. Although you can buy ready made packs of strips, it is possible to make your own; use leftover rolls of wallpaper, old newspapers or sheet music to give to the necessary length. I even used to make them out of curling ribbon when I was small but I think my eyes would struggle with that now! The only caveat is that the strips need to be absolutely straight in order to weave them successfully, so I would suggest using a paper guillotine to cut them (fold the paper in half lengthways before you cut it to make it easier). The rule of thumb is that the length of the strip needs to be thirty times the width, so a 1.5cm wide strip will need to be 45cms long; this will give you a star just over four times the width, about 6.5cms across.
You will need eight woven paper stars; you can find the instructions here and the kits here!
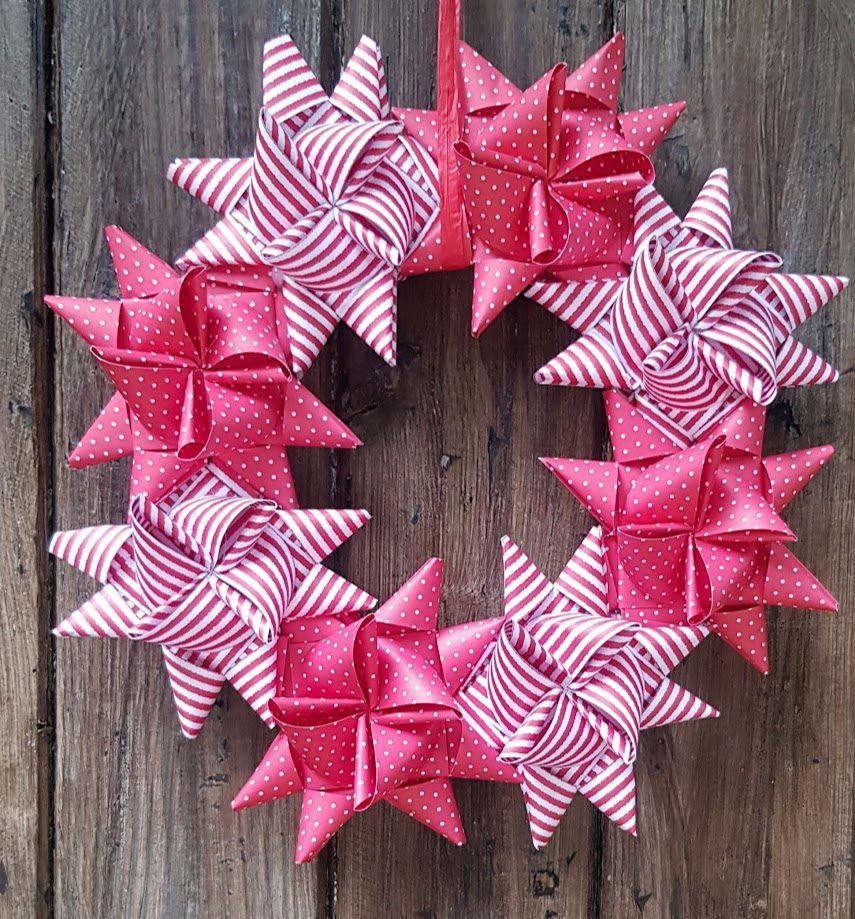
- To make a wreath, lay the stars out on your working surface. You will see that if you turn the stars there are differences in the gaps between the points. Pinch the two points of one of the smaller sections to flatten them slightly, then slide them in between two those of a larger section, pushing the tips into the gap in the middle of the triangles so they slot together. Fix in place with a blob of glue, and repeat to make four double stars.
- Once again slide the tips of the smaller points in between those of the bigger ones, this time at an angle, so you form a round shape.
- Continue sliding in the stars and securing with a blob of glue until the wreath is complete.